
An alpine slide or rock garden is a model of a natural mountain landscape, or a kind of flower garden, made of stones of different sizes, which raise the flower garden higher from the ground, and has aesthetic appeal, and ornamental plants enhance the effect of a rock garden. The layout of an alpine slide with your own hands must begin in early autumn. The first step in the planning of the rock garden will be the exact marking of the territory of the site on which the rock garden will be located. An alpine slide in the garden can be: large, medium, and small in size. When planning an alpine slide with an area of 12 m2 or more, it is necessary to mark the future location of height transitions, planting plants and garden paths.
Alpine slide plan
Before you start creating an alpine slide, it is important to develop a plan for it on paper. This will allow you to correctly plan the work, since an alpine slide is a complex décor on the territory. After creating a plan on paper, you need to make a markup where the alpine slide will be located.
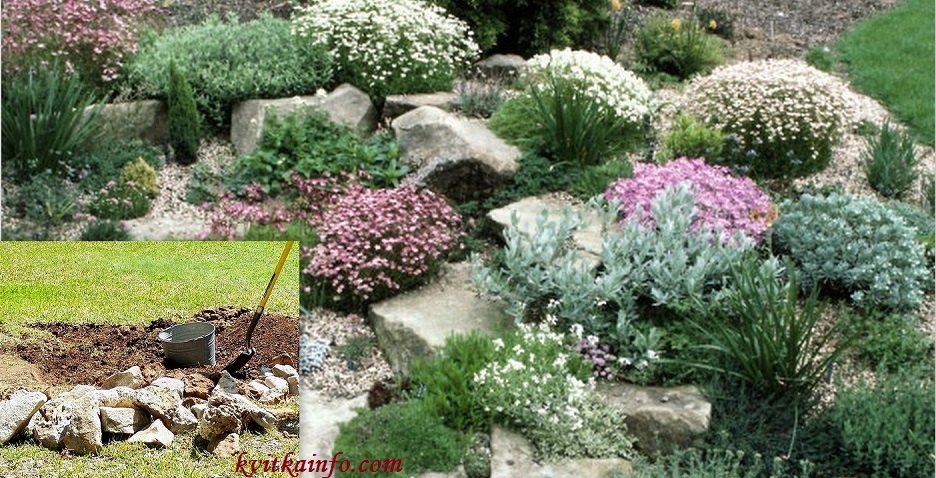
Preparing the site for an alpine slide
- To prepare part of the site for an alpine slide, we need:
- remove 30 cm (in depth) of the top layer of turf;
- at the bottom of the “pit” pour 10 cm of broken brick, or small stones, or gravel;
- next, pour a layer of coarse sand 5-10 cm;
- the next step is to prepare the soil mixture, cleared of weeds, with the addition of coarse sand and humus in equal amounts;
- Pour the resulting mixture onto the prepared drainage layer, and form a slide up to 1 m high.
It is better to perform the above work in the fall.
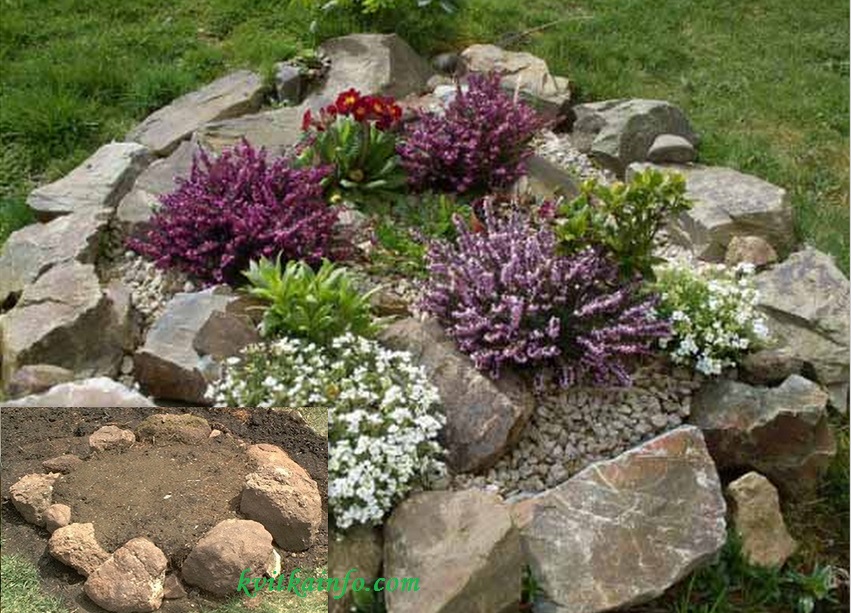
How to stack stones on an alpine slide
To assemble the pebbles, you need to wait a few weeks so that the soil is well compacted and settled. Next, you can start assembling the stones;
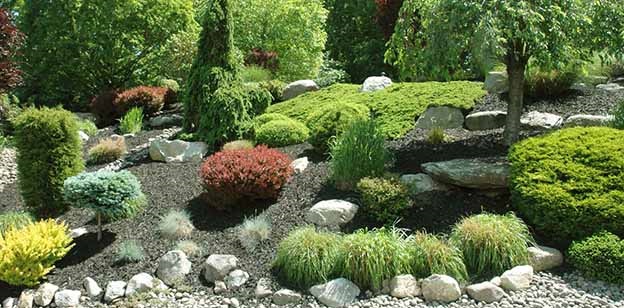
Thanks to this arrangement of stones, you will get the best imitation of the mountain landscape. A mountain landscape created with your own hands should be as asymmetrical as possible, which means that when assembling pebbles, you can forget about all the rules of geometry. As a result of the work done, you will get a real corner of mountain nature.
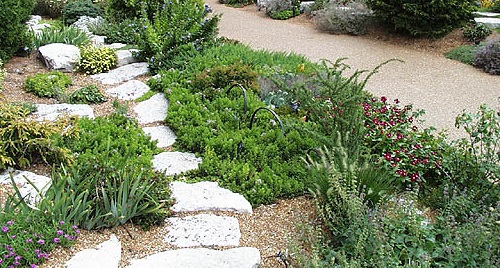
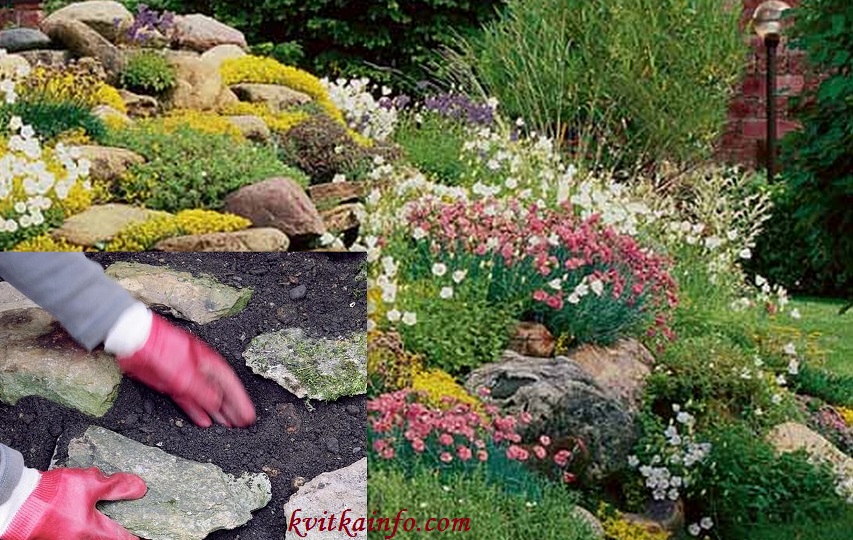
Stone paths
If you are making a wide alpine slide, then there should be paths on it that will wrap around and emphasize the planted plants, such paths complement the composition. When creating paths, lay out the pebbles with the flat side up. This important point must be taken into account, because otherwise it will be inconvenient to walk along the paths. When laying out pebbles on the path, they must be tested for stability, if the stone is unstable, you can put smaller pebbles under it, or sprinkle with gravel. Between the paths, it is advisable to leave empty plots of land intended for planting plants or flowers.
Other articles: